
Painting your nails is not as easy as it looks, and most of womankind will agree to that. In fact, it is a well-known fact that the only time a woman is most vulnerable is when she is waiting for her nail polish to dry. All of us know how important it is to get perfectly manicured and painted nails, for which we have compiled a convenient list of 20 tips you should know when you are painting nails.
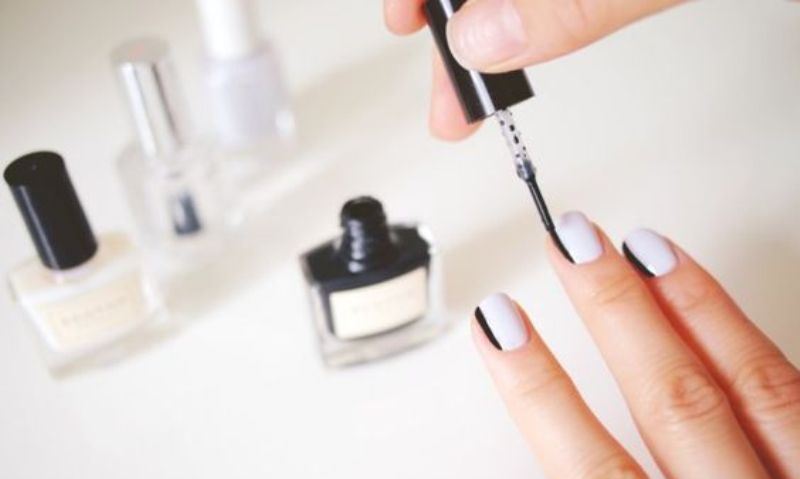
Image source: Pinterest
Along with some basic pointers on how to perfectly go about the process of applying nail paint, there are also included some handy tips and hacks for you to perfect that elusive style of pulling off nail art. Happy polishing!
Suggested read: 15 amazing tips for healthy nails
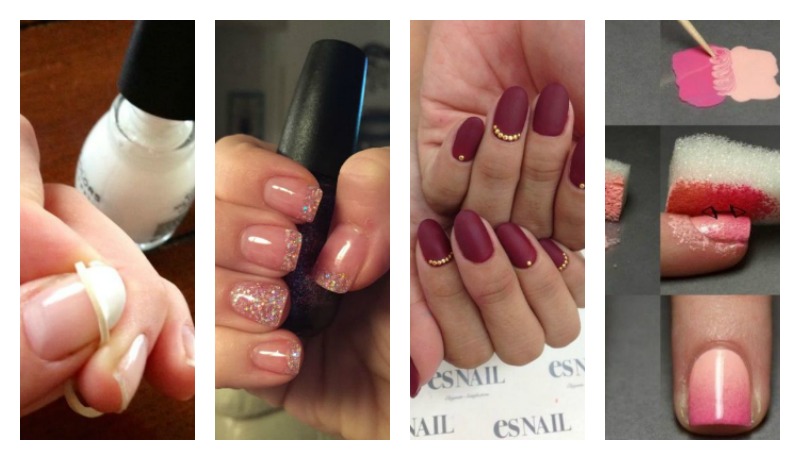
1. Use a base coat before painting
This is a step that most people seem to miss when they start painting nails. A base coat usually ensures that your nail enamel remains moisturized and unharmed by any pigment or color that may be present in your nail polish. It also allows smooth application.
2. Use three strokes only for application
A lot of people tend to overdo the actual process of application of their nail paint, by treating their poor nails like a canvas rather than a teeny tiny thing which needs to look pretty. You have to ensure that your brush is generously coated in nail paint, after which you have to apply it with three strokes only – one right down the middle, one along the right side of your nail, and another along the left side of your nail, so that it is evenly covered.
3. DIY glitter nail polish hack
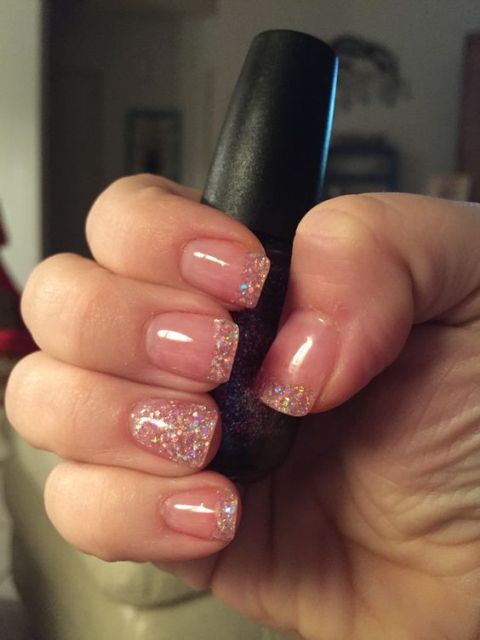
Image source: Pinterest
One of the things that has gained much love and popularity in the world of nail paints is glitter nail polish. However, they can be quite expensive, and you may not always find the right shade of glitter. You can turn any old clear nail paint into glitter by adding eye shadow or even simple craft glitter.
4. Clean spilled nail paint with a lip brush
If you are a human being and you have applied nail varnish on your fingernails, you know the problems of having some paint escaping onto the skin on your fingers. Instead of poking it with your fingers and ruining your polish in the process, dip a lip brush in nail polish remover and gently brush it around your nail to remove the excesses.
5. Do not underestimate cuticle oil
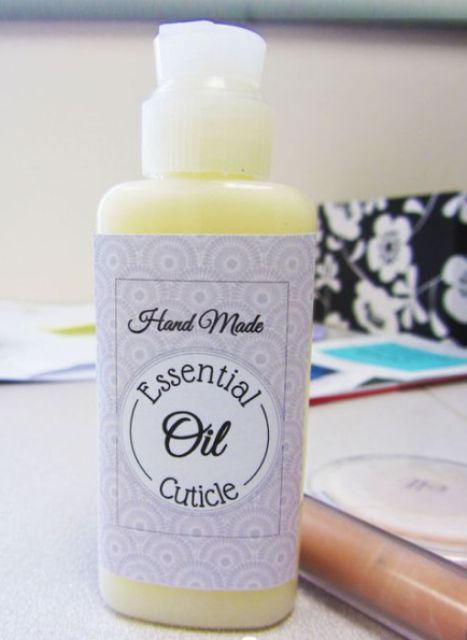
Image source: Pinterest
You must never forget your cuticle oil, which not only strengthens your nail, but also instantly moisturizes and hydrates it. Why do you need your nails to be hydrated? Because “broken nails” is not a very nice thing to deal with, and cuticle oil allows some protection against easy breakage and brittleness.
6. Steer clear of quick dry nail paints
I know it is super convenient to apply your nail paint minutes before you leave the house, because it says “quick dry” in loud and proud letters on your bottle, but paints like this contain a large amount of acetone, which dries out your nails, making them super brittle. Patience goes a long way.
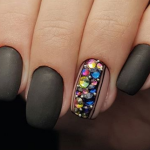
7. DIY matte nail paint
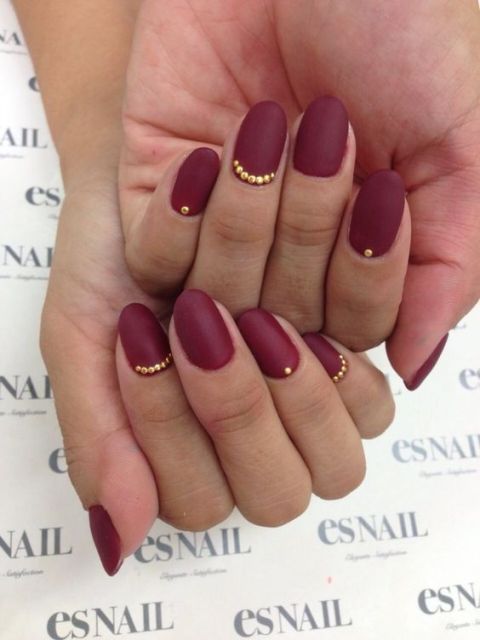
Image source: Pinterest
You might not always like glitter and shimmer when you are painting nails and there is an undeniable charm when it comes to matte colors. You can turn any nail paint into a matte shade by mixing some cornstarch in to your clear paint, and applying a covering coat of that after you have put on your polish.
8. Effective nail polish drying with vegetable oil
As mentioned above, drying your nail polish is a strangely frustrating and tiresome process, which you can effectively speed up by spraying your nails with a good coating of spray-on cooking oil, or even vegetable oil.
9. Effective nail polish drying with cold water
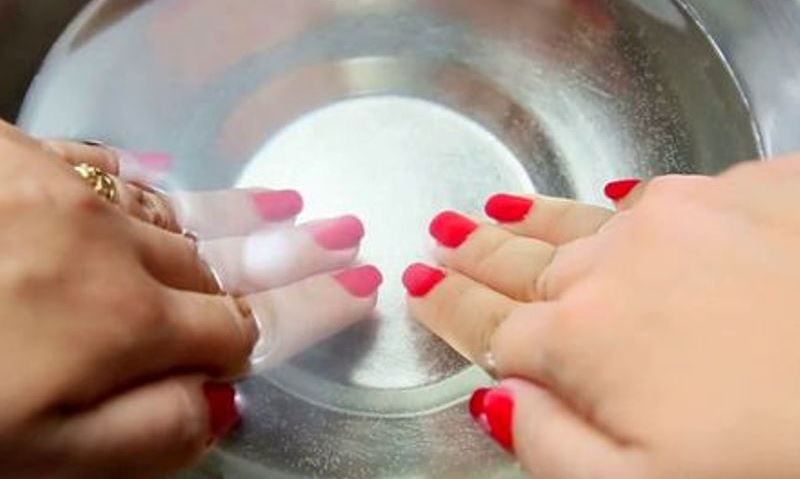
Image source: Pinterest
If you are still wary about using cooking oil and vegetable oil on your nails and fingers, which can be pretty difficult to get off once your nail paint has actually dried, you can instead use cold water. Hold your hands under running cold water, but in a manner which ensures that the force of the water does not ruin your nail polish. You can even dunk your nails in a bowl of cool water, and wait for your nails to dry.
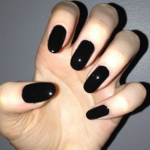
10. Choose your white nail polish with care
One of the most popular colors when it comes to nail paint is plain white, on which you can experiment with a horde of colors and nail art designs. To choose a white shade that is not too runny or sheer, swipe the brush along the inside of the bottle to see whether it is sheer or opaque. If it is sheer, then it means that you have to find something of better quality.
Suggested read: 12 effective tips to cure cracked cuticles
11. Vinegar and water for longer lasting paint
Long lasting nail polish is something that everyone craves. Along with applying clear coats and cuticle cream and all that after you have applied your nail polish, you have to soak your nails in a mixture composed of vinegar and water, so that your nails become more absorbent, allowing your nail polish to stay for longer.
12. Thin out your dried nail paint with acetone
One of the coolest hacks you can check out when you have bottle after bottle of nail paint which have dried up or have become too sticky because of the heat or the cold or other such external factors, is extending its longevity by adding a couple of drops of remover or acetone to your bottle, and then rolling it to get it properly mixed with the paint.
13. Store your nail polish collection in your fridge
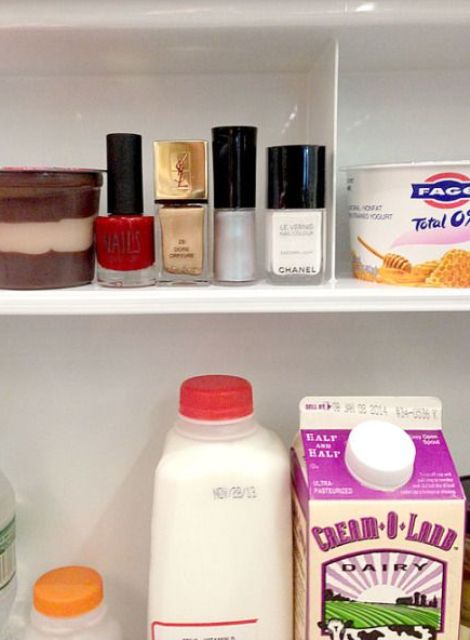
Image source: Pinterest
Sounds weird, right? There is however, a sound logic behind this. You are always asked to store your makeup in a cool dry place, so that the color and the thickness of your product does not get altered. Storing your nail polish in your fridge will save you from going through the arduous task of thinning it out with acetone or nail paint remover for longer use.
14. Roll your nail polish bottle instead of shaking it
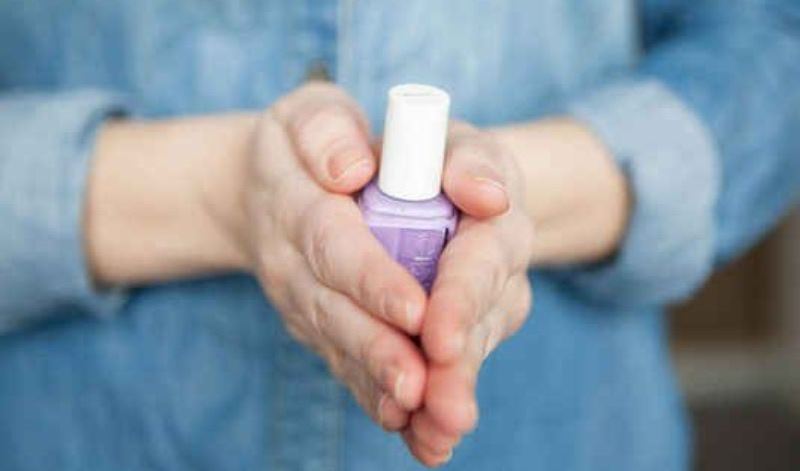
Image source: Pinterest
Most people shake the life out of their nail polish bottle before painting nails, in order to loosen up the solution inside. However, what happens as a result is that air bubbles get in, and also stick to your nails when you are applying, making it a difficult process. Roll it gently between the palms of your hands so that it gets loose without all the shaking.
15. File your nails the right way
Most people, when they are filing their nails, seem to be attacking them rather than shaping them. Instead of hacking at them in a back and forth arbitrary manner, file them in one direction only, so that your nails get filed evenly. If you go in any direction you please, you run the risk of damaging your nails, breaking them, leaving them jagged, etc.
16. Use a rubber band for a perfect French manicure
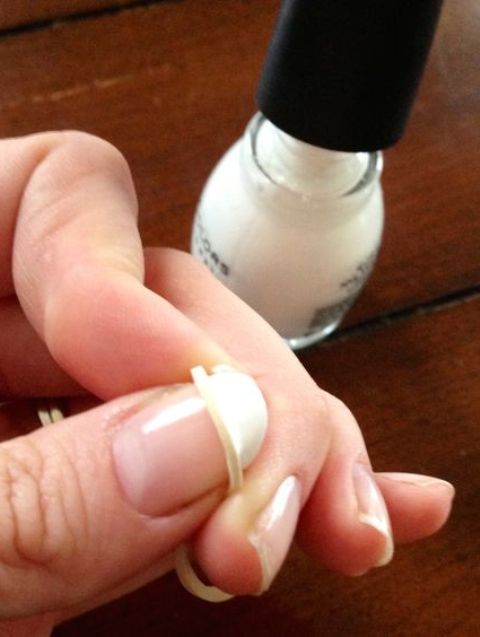
Image source: Pinterest
How, you might ask? Tie your rubber band twice around your finger and then remove it. Use the double strung rubber band and place it on the end of your nail, so that you have a delicate crescent shape blocking that part. Use your middle finger of the same hand to keep it in place while you paint over it with your other hand, for the perfect French manicure.
17. Do not expose your nails to hot water after you have painted your nails
When you subject your nails to a splash of hot water immediately after you have painted your nails, you are essentially allowing your nail bed to expand substantially because of the heat, which takes a toll on your fresh nail paint. The usual consequence is a neat crack across your fresh and painfully applied nail paint. Things you should avoid ideally include washing your dishes, washing your hair, taking a warm bath, cooking, etc.
18. Use glitter nail polish for long lasting effect
If you want your nails to look fabulous for weeks instead of just a couple of days, resort to the magical creation that is glitter nail paint, topping it off with a coating of clear paint.
19. Use a sponge for the best ombré effect

Image source: Pinterest
Ombré nails look drop-dead gorgeous frankly, and if you want to make sure that you too have the best, most complicated looking ombré nails without having to spend a ton of money, use a sponge, dab it lightly into the color you want, and then dab it back onto the nail which has already been painted on. Of course, do not forget the clear coating.
Suggested read: Wedding nail art: 10 ways to have fun with your nails
20. Removing your glitter nail polish with cotton and acetone
Removing your glitter nail polish can be a pain in the butt, even after weeks of application. To do so without getting paint, acetone, and your temper out of control, soak a ball of cotton in remover for some time and then let it rest on your nail. After a couple of minutes, you should be able to take your paint off with one effortless swipe.
After checking out 20 of the most useful and practical tips for painting your nails, you must have realized that it is not as easy as it sounds. However, taking a few precautionary measures and using a few cheats can save you a lot of money and open up new avenues when it comes to painting those pretty babies.


