
Most women get base makeup wrong and hence, walk out looking like a cake! However, if you have longed to wear your makeup light and still look flawless all day, you’ve come to the right place. We are covering the basics of base makeup and shall unravel just the map you need to get to your base right. Let’s get started:
Step 1: Cleansing, toning, and moisturizing

Image source: Shutterstock
You need to cleanse your skin by using a cleanser that matches your skin type. Make sure you get the neck as well. Pat your skin dry and steer clear of rubbing it to the state of strained dryness. After the cleansing round, follow the routine with a good quality toner and then, dab on some moisturizer to prepare the skin for the application of makeup. Moisturization locks in moisture and helps the skin ward off any harmful effects from the harsh chemicals in makeup.
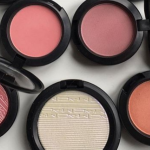
Suggested read: The guide on how to choose blush that flatters your skin tone
Step 2: Using a primer
A primer helps to blur out pores, even the skin tone, minimize fine lines and wrinkles and of course, increase the longevity of makeup. There are two kinds of primers available- water based and silicone based. While the former are suited for those with an oily or acne-prone skin type, silicone based primers work well on most skin types. Some primers also come with skincare, radiance and tinted properties for that additional touch of protection and a hint of color and glow for your skin! Once you have chosen a primer that matches your requirements, you can squeeze some onto your fingertips and dab some dots along your nose bridge, cheeks, forehead, jaw line and neck. Proceed to blend it evenly and wait for it to get absorbed into your skin.
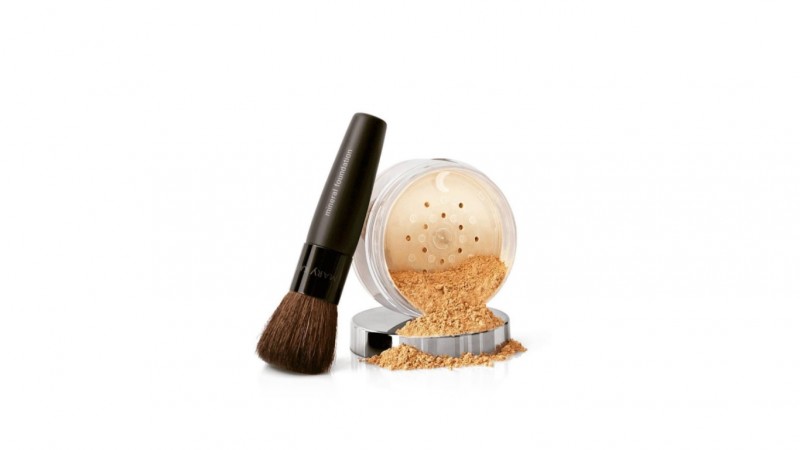
Step 3: The foundation

Image source: Google, copyright-free image under Creative Commons License
If you have a dry skin, your best bet is to opt for a light coverage, hydrating foundation. Cream-based foundations are also suitable owing to their greasy, creamy nature. On the other hand, you have an oily skin, you should go for matte foundations with no shine or dewy appearance. If your skin is acne-prone, you should go for mineral based oil-free foundations that shall combat spots and cover them. People blessed with normal skin can opt for both matte or luminous foundations, based on preference. Pick a shade tested along your jaw line and do not buy into the myth of getting a shade lighter than your skin tone.
It is the application of foundation where most women go wrong. Allow the primer to settle into your skin and then, start off with foundation. If you are using a foundation brush, move the foundation brush in circles to buff the foundation in. If you are using a sponge or beauty blender, roll the sponge with every touch to blend it in.
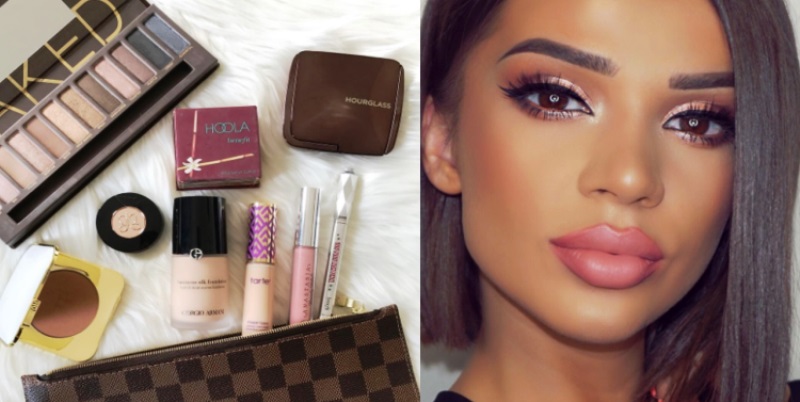
Step 4: Cover up and conceal
Getting the right concealer is as important as using it right. While liquid concealers are best suited for all skin types, cream concealers work nicely around the eyes and matte concealers provide extra coverage and excellent effectivity in hiding blemishes. However, you may want to steer clear of stick concealers if you have an acne-prone skin. They will block pores and make the coverage look heavy.
Go for a generous application of concealer in the under-eye area and extend it sideward. Blend the application using a brush in circular motion. You can use the same trick if you are working with a blender or sponge. The rule of thumbs, here, is to remember not to swipe the concealer. ‘Dab and blend’ is the way to go.
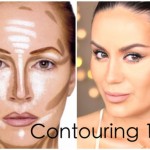
Step 5: Highlighting and contouring

Image source: Pinterest
When selecting bronzers, always go for one that’s two shades darker than your skin tone. Powdered forms are best recommended for oily skin while cream bronzers are well-suited for dry skin. Matte bronzers lend a more natural look to your face while shimmer bronzers add glow and radiance. Bronzers are also available in spray, gel and liquid types.
Sweep the bronzer along your cheeks in the shape of a giant 3. It will help slim down your face, highlight the cheekbones and make the jaw line appear more prominent. Alternatively, you may try applying the bronzer on top of your forehead and hairline, working your way to the cheeks, maintaining a clean distance from the nose. You can move back toward the temples and sweep on the chin, always following the pattern of 3. Bronzers with shimmer can be used to highlight the area underneath the cheekbones and the top of your nose.
Suggested read: The best Fall makeup looks, and how to get them
Step 6: Final touches
This is an optional step but it is recommended that you use a compact to add more coverage and seal your base makeup. Using a compact increases longevity of the makeup and gives you a smooth finish.
All you have to do is swirl the powder brush over the pan and then, brush it gently over your face. If you are using a puff or sponge, simply press the powder on your face. Sponges work best for cream compacts as they ensure even application and a smooth finish.
Do let us know if we got all the bases covered for base makeup. If you have got any additional tricks up your sleeve, we are all ears. There’s a comments section below.
Featured image source: Pinterest


